So, you’re looking to whip up some homemade treats for your cat? Good call.
Store-bought options are fine, but there’s something extra special about making snacks for your furry overlord from scratch 😉
Plus, you know exactly what’s going into them—no sketchy ingredients here. Here’s my ridiculously easy recipe for Tuna Bites, a treat that’ll have your cat purring in no time.
Question #1 – Why?

First things first, why bother? Isn’t it easier to just grab a bag of treats from the store? Sure, but homemade treats have some serious perks:
- Healthier Ingredients: No fillers, preservatives, or artificial junk.
- Customizable: Got a cat with allergies? You control what goes in.
- Fun to Make: Okay, this one’s mostly for you. Who doesn’t love baking for their pet?
Plus, let’s be honest, watching your cat lose their mind over something you made is the ultimate ego boost. 😉
How To Make These Bites?
Let’s get into it. This recipe is simple, quick, and uses ingredients you probably already have. Bonus: It only takes about 20 minutes from start to finish. Ready?
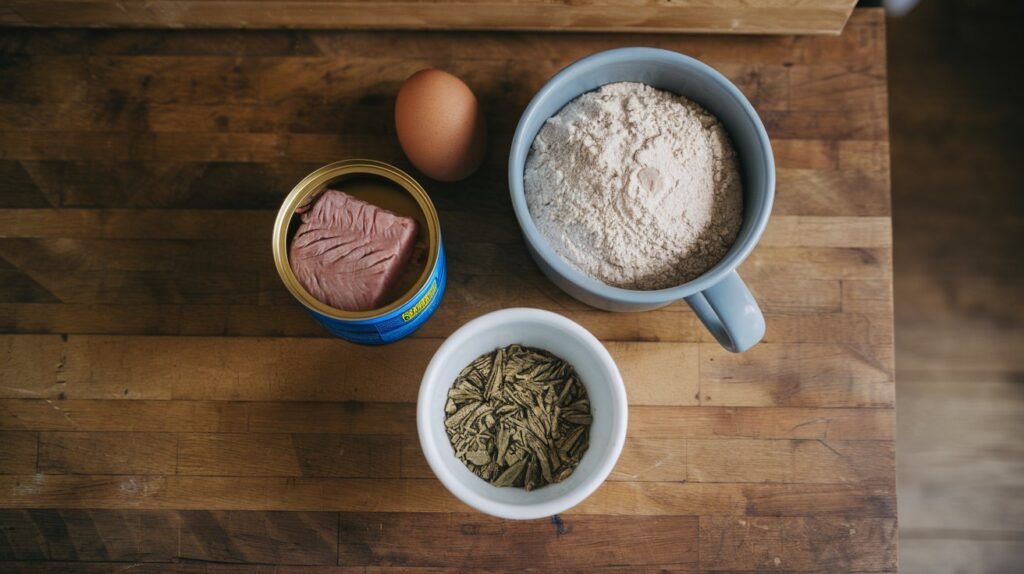
Ingredients You’ll Need:
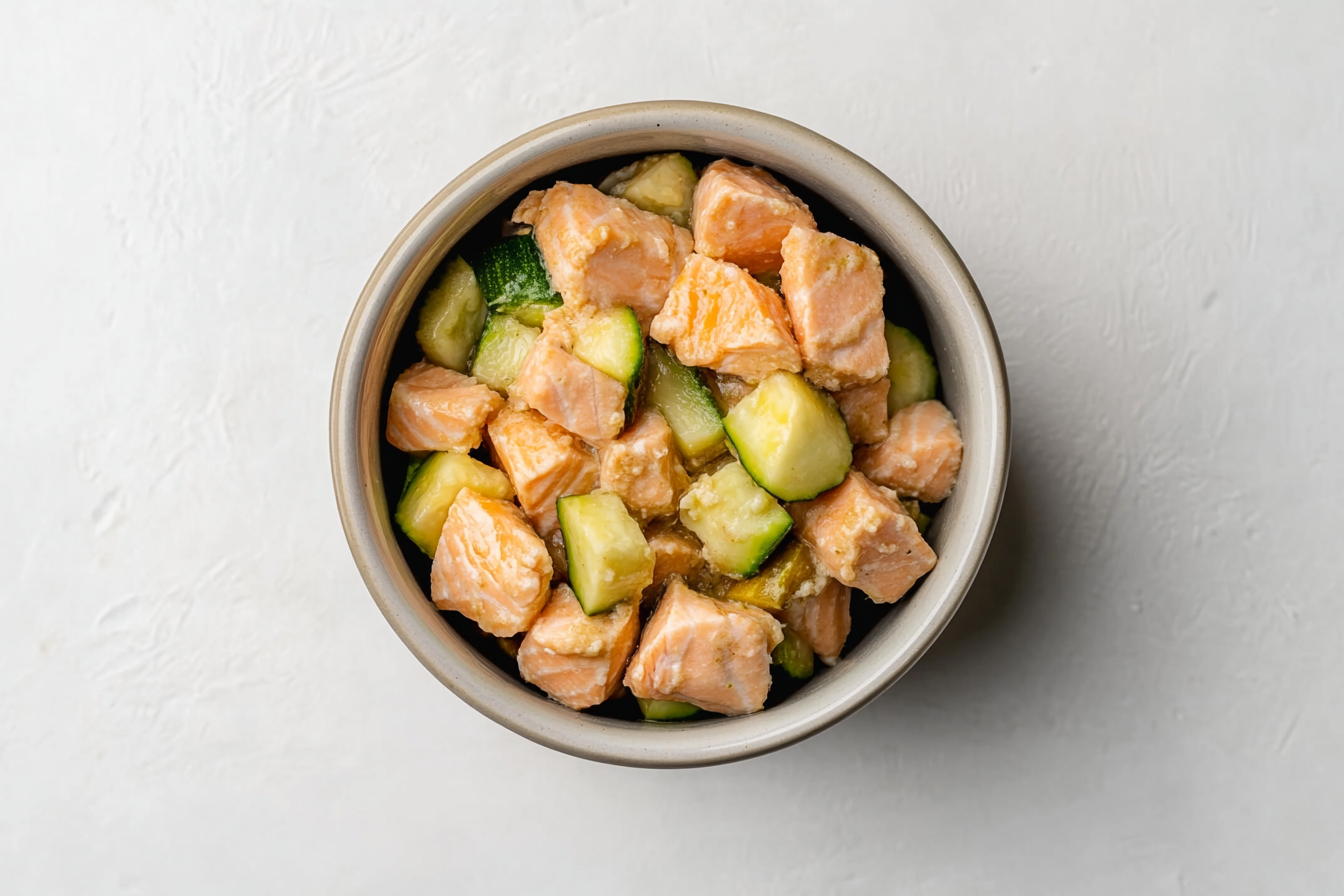
- 1 can of tuna in water (drained)
- 1 egg (for binding the mixture)
- 1 cup whole wheat flour (or oat flour if your cat avoids grains)
- 1 tablespoon catnip (optional, but highly recommended for maximum excitement)
Tip: Always use plain, unsalted tuna. Your cat doesn’t need extra sodium in their life.
Step-by-Step Instructions:
Step 1: Preheat the Oven
Set your oven to 350°F (175°C). While it’s heating, line a baking sheet with parchment paper or lightly grease it. No one likes scrubbing off baked-on tuna bits.
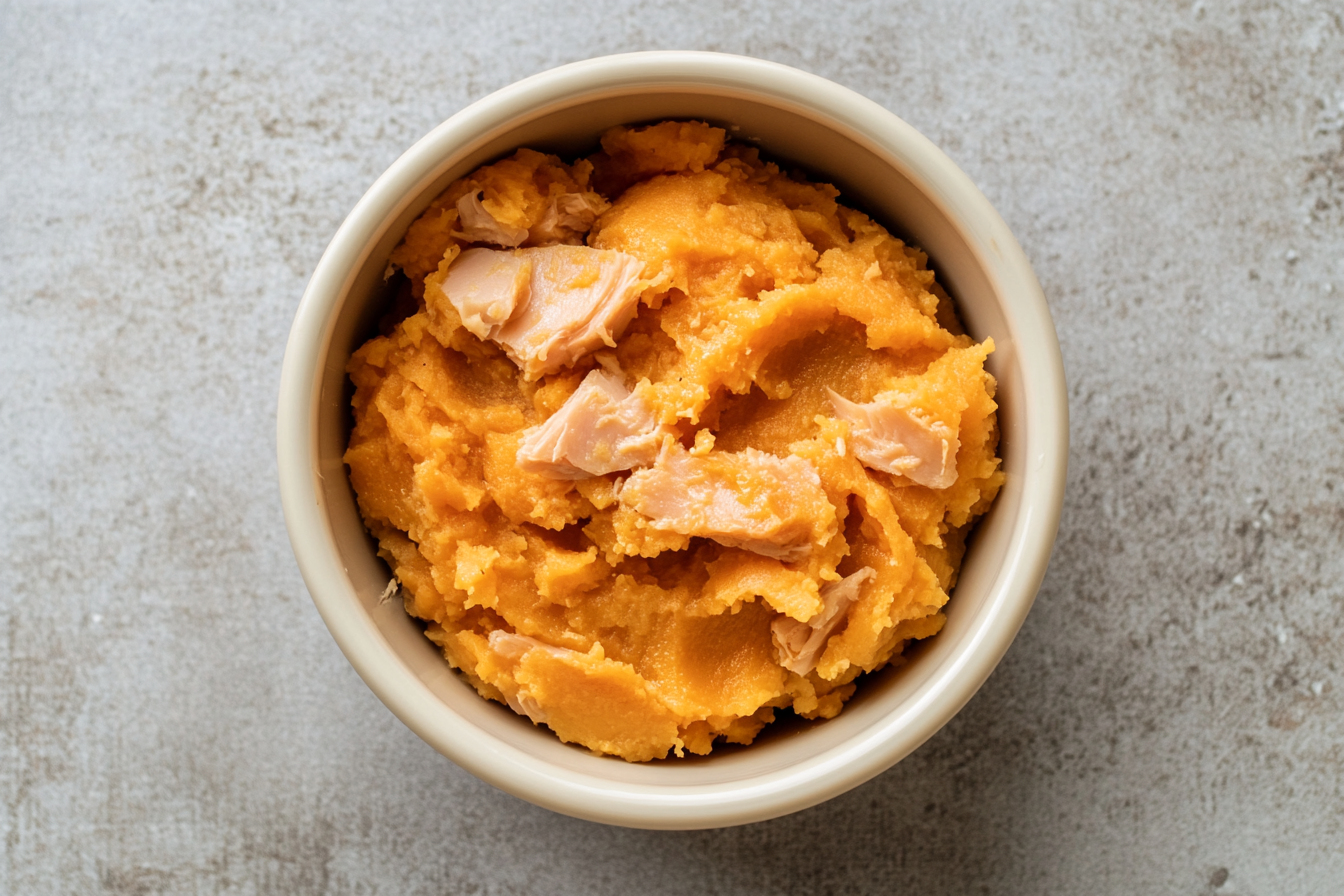
Step 2: Mash the Tuna
Drain the tuna thoroughly, then mash it in a mixing bowl. Get it nice and smooth—no chunky bits. Your cat’s teeth might be sharp, but they don’t need to work harder than they already do.
Step 3: Mix It Up
Crack in the egg and mix it with the tuna. Gradually add the flour, stirring until it forms a dough-like consistency. If you’re using catnip, toss it in now. (Prepare for your cat to start getting nosy.)
Step 4: Shape the Treats
Roll the dough into small balls or press it flat and cut it into tiny shapes—whatever’s easiest for you. Keep the pieces small; cats don’t need big portions.
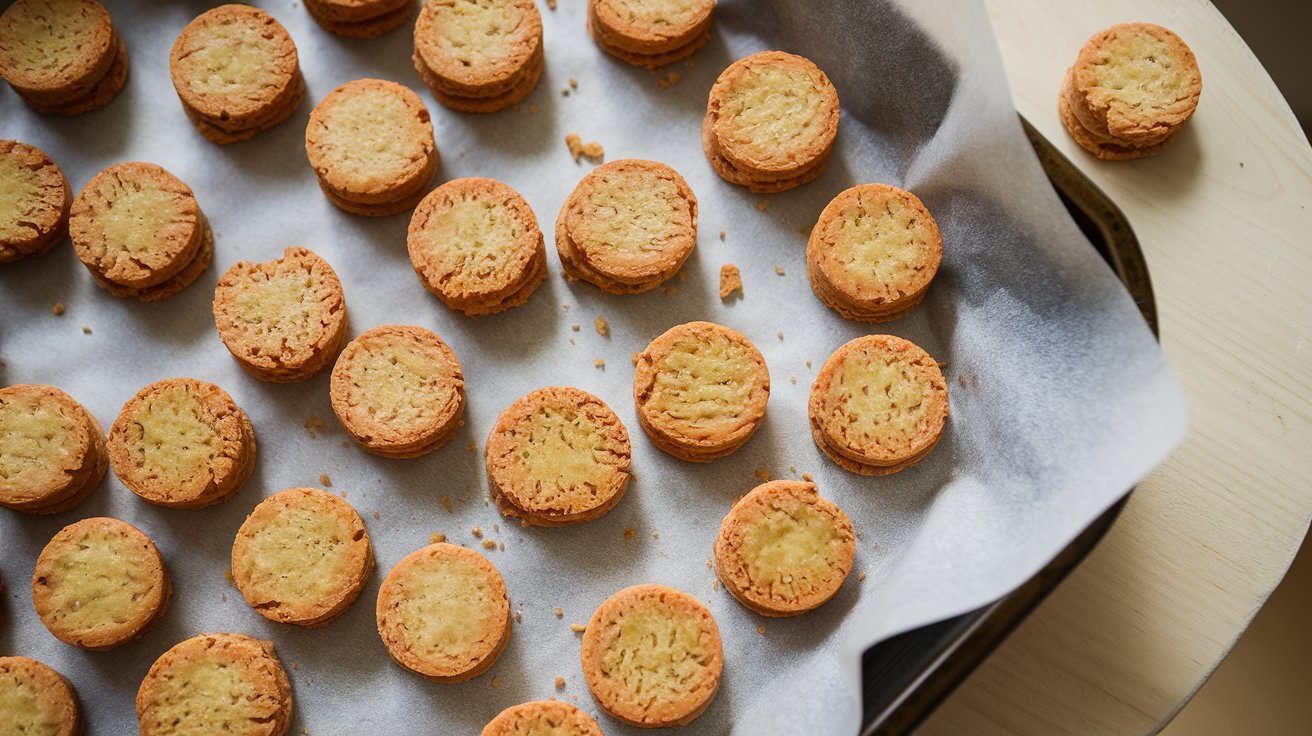
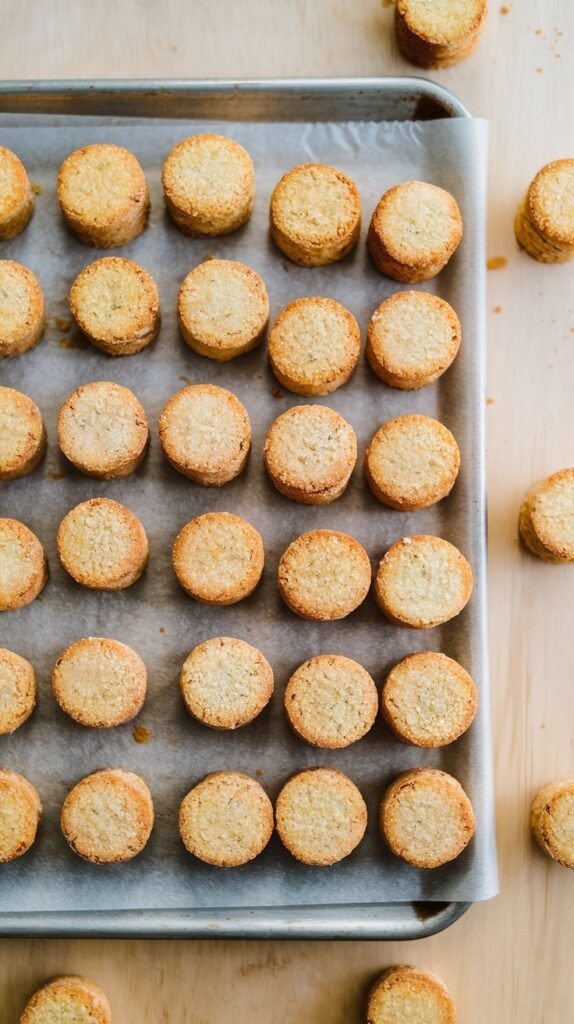
Step 5: Bake
Place the treats on the baking sheet and pop them in the oven for about 10–12 minutes, or until they’re firm and slightly golden. Don’t overbake—they should be crunchy but not hard as a rock.
Serving and Storing Your Treats
Once the treats have cooled, offer one to your cat and prepare to feel like a culinary genius. Keep the rest in an airtight container. They’ll stay fresh for about a week, but good luck making them last that long—your cat will probably demand them daily.
FYI: These are treats, not a meal replacement. One or two a day is plenty!
Common Mistakes & More Tips
When making homemade cat treats, it’s easy to slip up, but avoiding a few common mistakes will ensure your treats turn out perfect.
- First, always use tuna in water, not oil, and make sure to drain the tuna thoroughly to avoid excess liquid that could ruin the dough’s consistency.
- And If your cat has grain sensitivities, opt for oat flour or chickpea flour instead of regular wheat flour.
- Remember, the dough should be firm and moldable, so if it feels too dry, add a little chicken broth or water.
- Be careful not to overbake your treats—baking them too long can make them hard to chew. Once they’re golden and firm, take them out.
- Obviously, you need to cool the treats before serving to avoid burning your cat’s mouth, and always give treats in moderation, no more than one or two a day, to keep your cat’s diet balanced.
- Don’t forget that not all cats love tuna—if your cat turns up its nose, try switching to chicken or turkey for a different flavor 🙂
Why Your Cat Will Love These Treats
- Tuna Flavor: Cats go wild for fishy smells. It’s science. (Okay, not really, but you get the point.)
- Crunchy Texture: Perfect for satisfying their natural instinct to nibble.
- Catnip Bonus: If you added catnip, expect some serious enthusiasm.
Want More Recipes?
If you want to learn more about making DIY cat food, watch the video below – it’s great!
Final Thoughts
Making homemade cat treats is easier than you think, and the payoff is totally worth it.
These Tuna Bites are a great way to show your cat some extra love without resorting to processed snacks. Plus, it’s kind of fun to watch your cat act like you’ve just given them the greatest gift of all time.
Try it out, and don’t be surprised if your cat starts following you into the kitchen more often. 😉
Printable Recipe Card
Want just the essential recipe details without scrolling through the article? Get our printable recipe card with just the ingredients and instructions.